
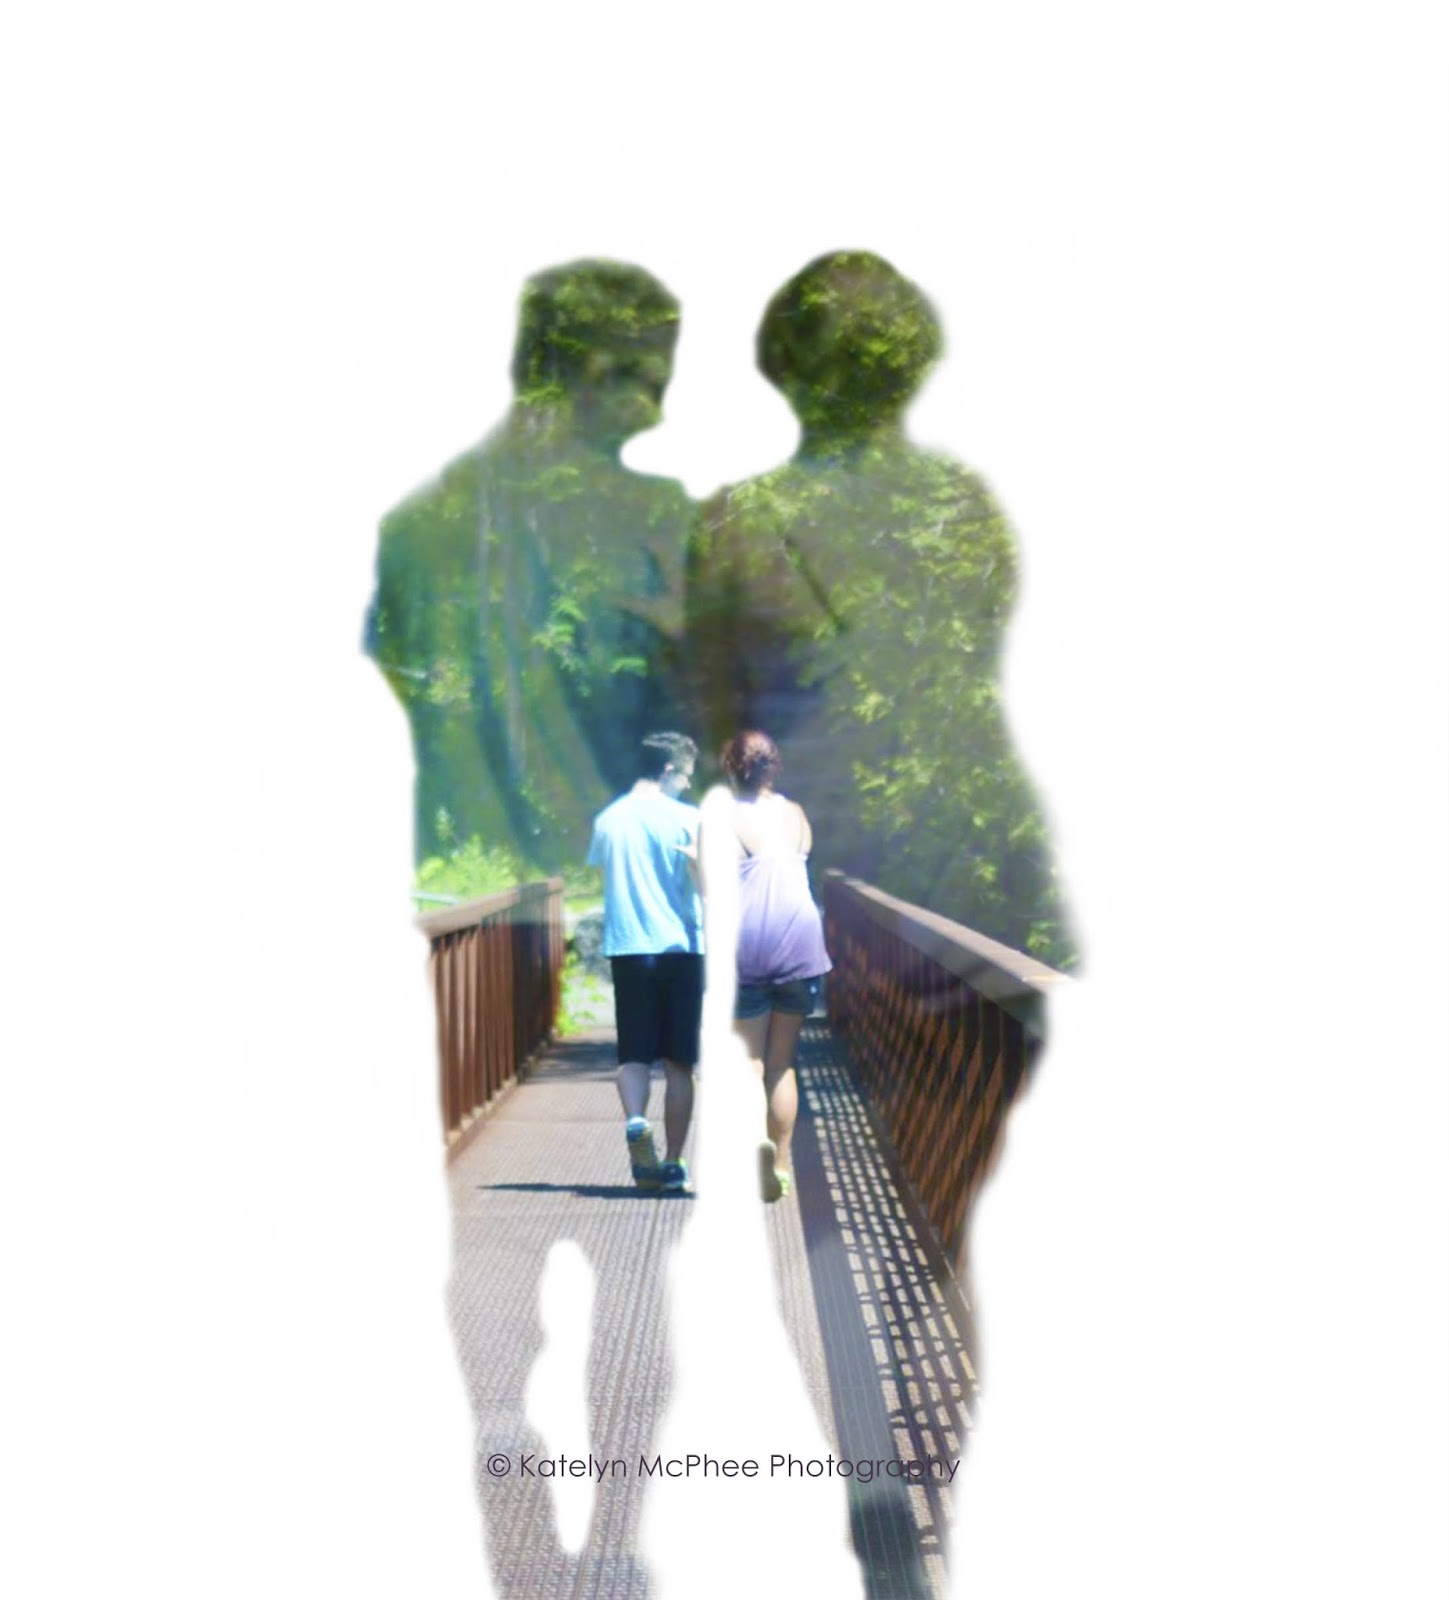
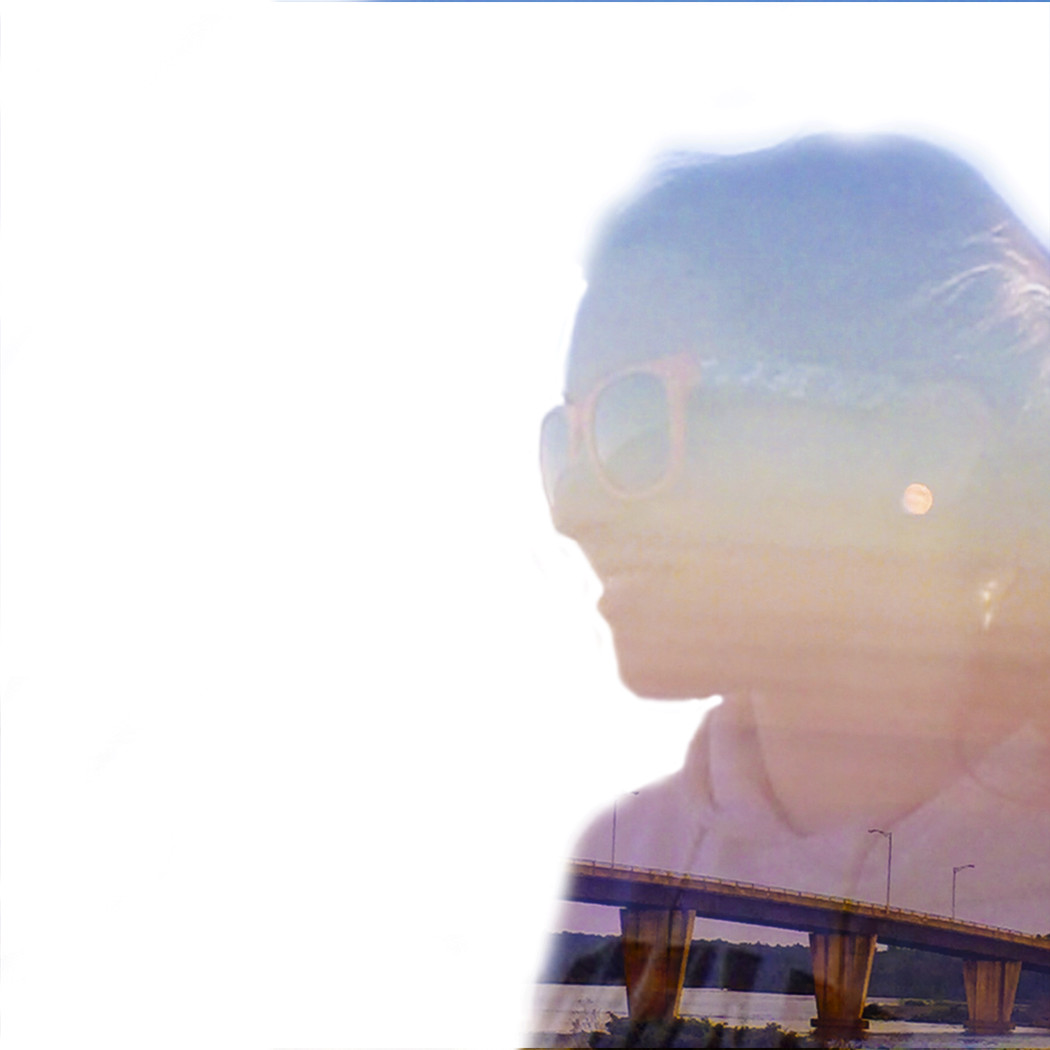
I have recently become somewhat of an addict to creating double exposure images with Adobe Photoshop. I can't stop! Double exposure images are really intriguing to look at and can really help to tell a story. I've decided today to share with you my process for creating double exposure images. It's a REALLY easy process that leaves a lot of room for creativity.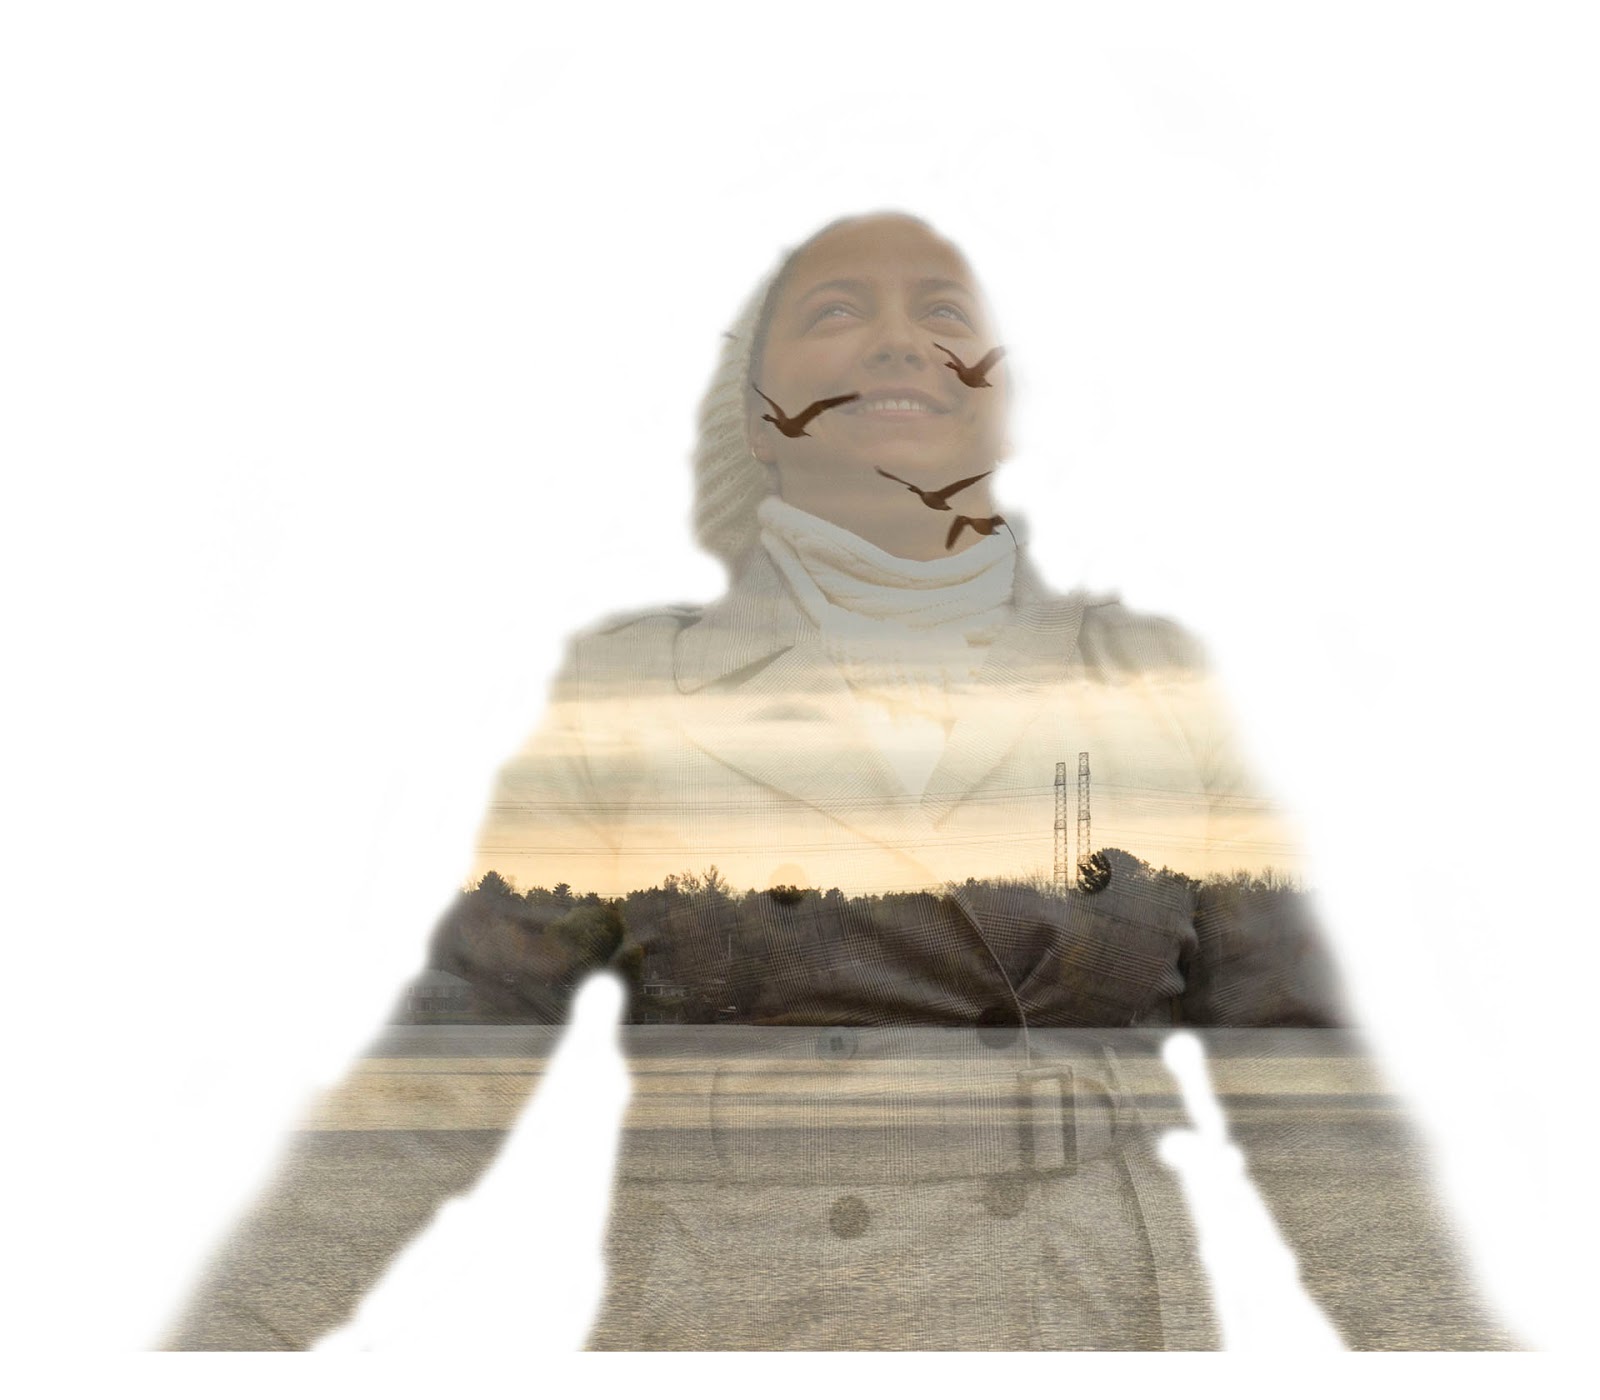
My step by step guide:

1. Open your subject image in photoshop
2. Create a duplicate layer to work on and lock the original
3. Turn off the view option for the locked original
4. Create a blank layer and rename paint

5. Select the brush tool and paint around subject(s) completely white. Use the [ and ] keys to decrease and increase brush size to get around tight areas.

6. Drag your second image onto the screen. It should automatically add as a new layer. I always rename this layer as overlay
7. Right click the overlay layer and open blending options. Set to screen and adjust opacity of base layer to achieve desired effect
8. Reposition overlay to where you want it

9. Use adjustment layers to create desired look

10. Save work and export
I hope this little tutorial helped and I hope you guys will experiment with double exposures. Please let me know if you do, I'd love to see some images!
Thanks for reading, xo, Katelyn
No comments:
Post a Comment